Installation
- Requirements
- Installing with the Starter Kit
- Installing into an existing site
Table of Contents
Cargo, the successor to Simple Commerce, is now in alpha and will be released fully in the next couple of months. If you're starting a new project, you should probably use Cargo instead. To learn more, check out the Cargo documentation.
To install Simple Commerce, there's two routes you can take. You can either install into an existing site or create a fresh Statamic project using the Simple Commerce starter kit.
Requirements
To run Simple Commerce, your server (whether local or production) will need to meet the following requirements:
- PHP 8.3
- Laravel 10
- PHP
intlextension - Statamic CLI
- Some kind of web server (like Laravel Valet)
And if you're installing into an existing site, your site must be on Statamic 5 (or higher) and Laravel 10 (or higher).
Installing with the Starter Kit
When you're starting afresh, I'd recommend using the Simple Commerce Starter Kit. Simple Commerce comes pre-installed, along with cart/checkout templates and some other tweaks.
Note!
If you want to use something like Peak, you'll want to install that first, then follow the steps on installing into an existing site.
1. Create a site using the Statamic CLI (obviously replace your-new-site-name with you actual new site name 😅)
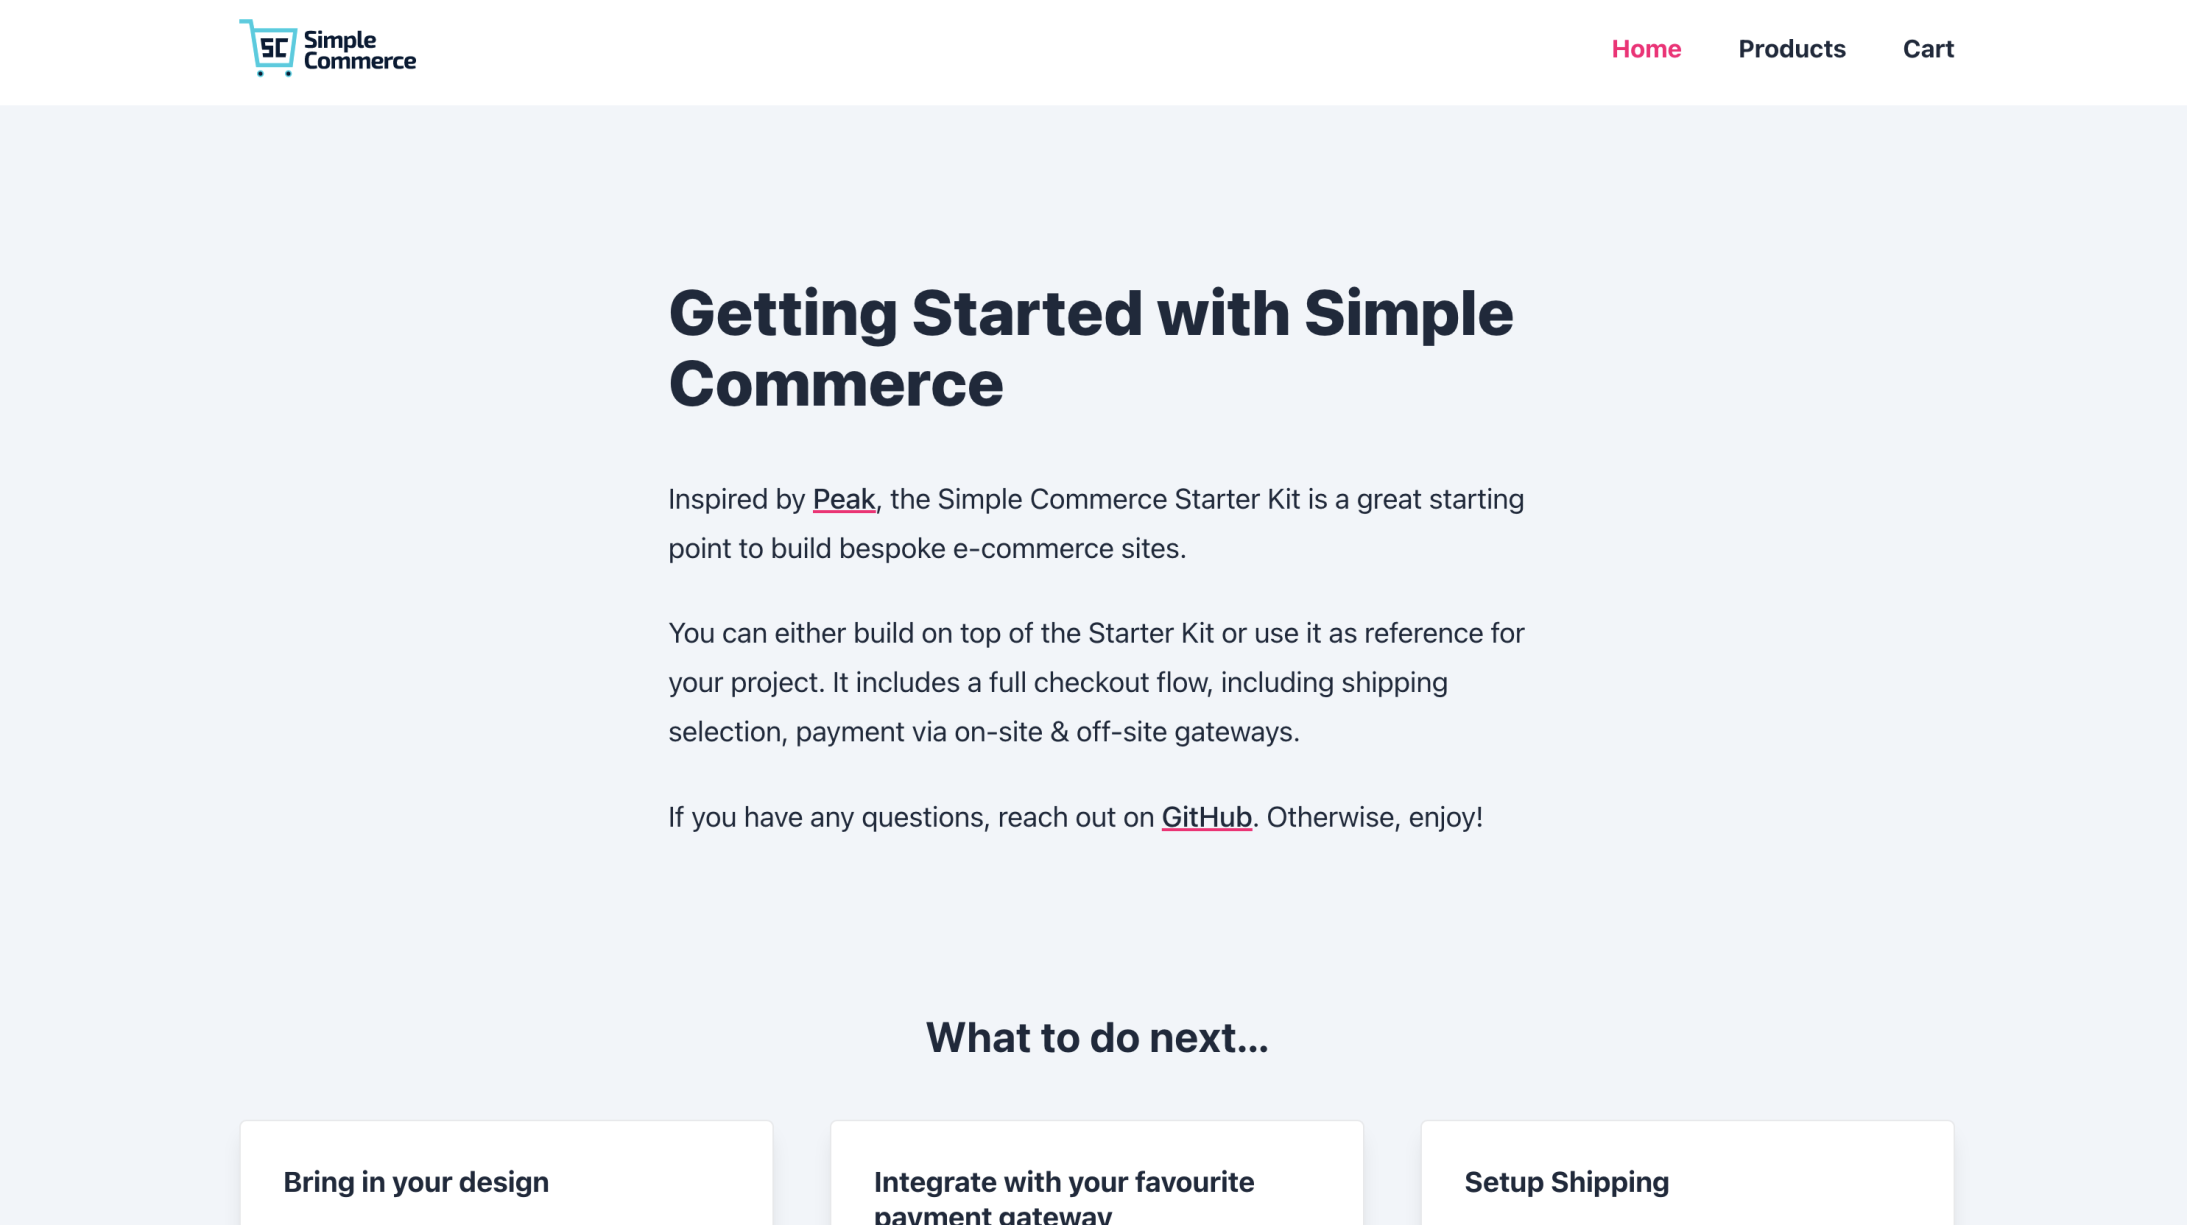
2. Now, if you load up the site in your browser, you should see a page like this:

What's next?
Now that you're up and running with the Starter Kit, you're probably wanting to get going with development. Here's a list of resources that you might find helpful:
- Documentation (you're already here)
- Knowledge Base - for any 'How tos' or explainer articles
- GitHub Issues - for reporting any bugs or for requesting features
Installing into an existing site
1. Install Simple Commerce with Composer
2. Next, run the sc:install command to publish Simple Commerce's config file, collections & blueprints.
3. And, that's you! 🚀
If you want to confirm you've installed everything correctly, run php please support:details and you should see Simple Commerce in the list.
What's next?
Now that you're up and running with Simple Commerce, you're probably wanting to get going with development. Here's a list of resources that you might find helpful:
- Documentation (you're already here)
- Knowledge Base - for any 'How tos' or explainer articles
- Starter Kit - to use as a reference when you get stuck (might be useful for cart/checkout templates)
- GitHub Issues - for reporting any bugs or for requesting features