Control Panel
- Control Panel Navigation
- Widgets
Table of Contents
Control Panel Navigation
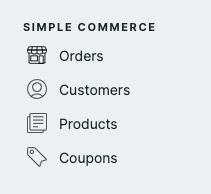
Once installed, you'll see a "Simple Commerce" section in the Control Panel navigation. It provides easy access to Orders, Products, Coupons, etc.
If you want to hide pages from the Control Panel navigation, you can use the Nav Customizer .
Widgets
Simple Commerce comes with a few helpful widgets you can add to your site's dashboard.
Orders Chart
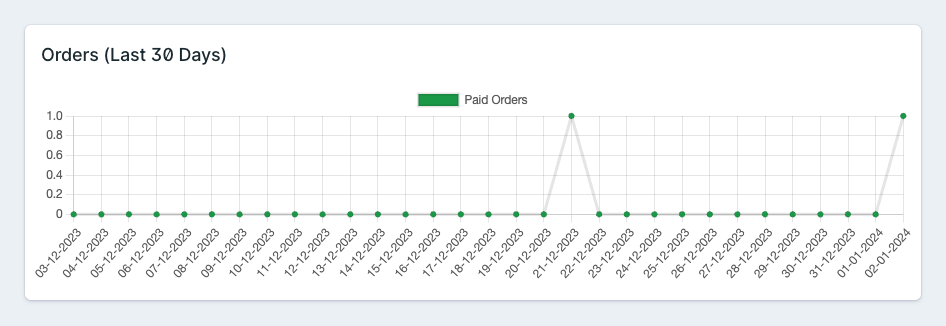
The Orders Chart widget displays a line chart of paid orders over the last 30 days.
Recent Orders
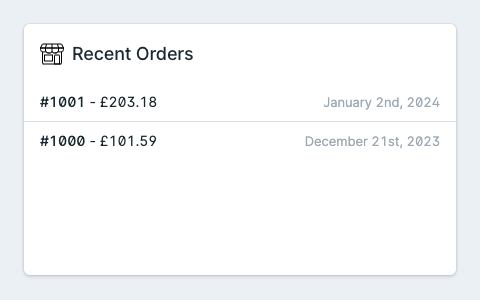
The Recent Orders widget displays a list of the site's recent orders.
By default, it'll only show 5 orders but you can adjust the limit however you'd like.
Top Customers
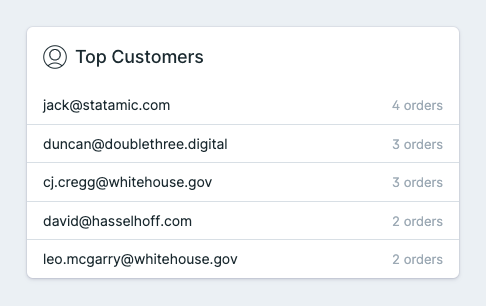
The Top Customers widget displays a list of the site's top customers (those with the most orders).
By default, it'll only show 5 customers but you can adjust the limit however you'd like.
Low Stock Products
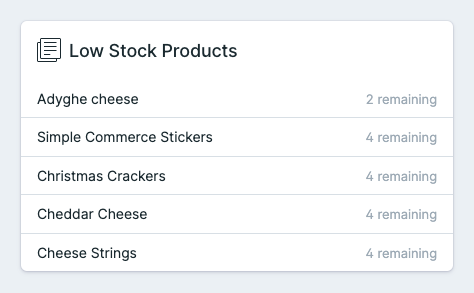
The Low Stock Products widget displays a list of products with low stock.
By default, it'll only show 5 products but you can adjust the limit however you'd like.